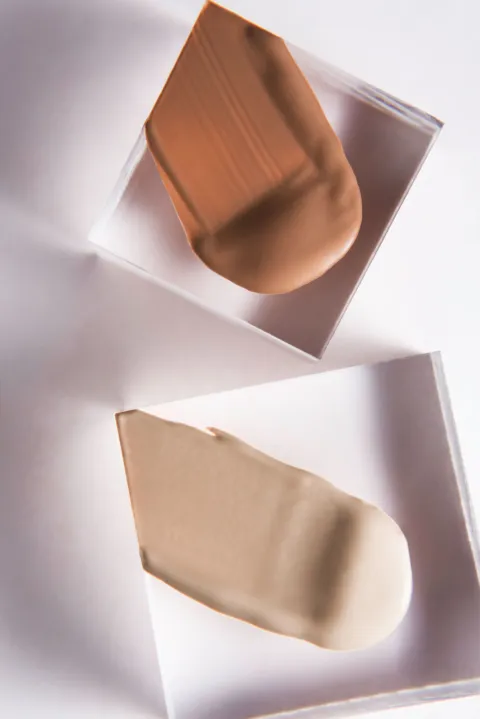
One Red Lip, Three Different Looks
A sheer pressed stain, a defined classic and a blurred matte, all from the same tube. Steps for each, and how to pick one for the day ahead.

A red lipstick is usually bought for one occasion and then left in a drawer, because full, sharp, opaque red feels like a lot for a Tuesday. But that is only one of the ways to wear it. The same bullet can be a sheer stain, a precise classic or a soft-edged matte, and the difference is entirely in how it goes on.
All three looks below start from one ordinary cream or satin red lipstick. The only extras are a lip balm, a tissue and, for the second look, a lip pencil.
Prep once, for all three
Red shows texture more than a neutral shade does, so thirty seconds of prep pays off. Apply a plain lip balm while you do the rest of your makeup. Just before the lipstick, press a tissue against your lips to take off whatever balm has not sunk in. Lips should feel soft but not slick; color slides around on a greasy surface and goes on unevenly.
Look one: the pressed stain
The effect: lips that look naturally flushed, as if the color were coming from underneath. No visible edge.
Where it fits: daytime, the office, weekends, any day when the rest of your face is close to bare.
- Dab the lipstick onto the center of your lower lip only. Two or three touches are enough.
- Press your lips together once.
- With a clean fingertip, tap the color outward toward the corners and the edges. Stop short of the lip line so the color fades before it gets there.
- Blot once with a tissue. If you want more depth, repeat the whole thing with a second thin layer.
Wear it with: brushed-up brows, mascara, a little cream blush. It sits comfortably at the end of a five-minute makeup routine.
Touching up: the easiest of the three. Tap on a little more with a finger, no mirror required. Because there is no crisp edge, it also fades evenly.
Look two: the defined classic
The effect: full color, a clean outline, a slight sheen. The red lip most people picture.
Where it fits: events, dinners, photographs, days when the lip is the whole point.
- Outline your lips with a pencil close to the lipstick shade, or close to your natural lip color. Begin at the two peaks of the upper lip, then the center of the lower lip, then connect to the corners with short strokes.
- Fill in the entire lip lightly with the pencil. This gives the lipstick something to hold on to and means that when the color wears down, there is still an even tint beneath it.
- Apply the lipstick with a lip brush, or straight from the bullet if your hand is steady, working from the center out.
- Blot with a tissue, then apply a second thin layer.
- Tidy the outline. A small flat brush with a trace of concealer, run just outside the lip line, sharpens the edge and catches any wobble.
Wear it with: a quiet eye. Groomed brows, a neat lash line and even skin let the mouth lead.
Touching up: this one benefits from a mirror. Blot away what is left in the center, reapply and re-check the corners.
Look three: the blurred matte
The effect: strong color in the center, a soft, slightly smudged edge, a velvety finish. Less formal than the classic, more deliberate than the stain.
Where it fits: evenings, and any time you want red without a hard outline. It pairs well with soft evening makeup, where nothing on the face has a sharp edge.
- Apply the lipstick fully from the bullet, staying a hair inside your natural lip line.
- Blot firmly with a tissue. Repeat: apply, blot. Two blotted layers leave behind pigment without the shine.
- Run a clean fingertip or a cotton swab along the outer edge of the lips, using small back-and-forth movements, to soften the border. The aim is a haze, not a smear, so keep the movement within a millimeter or two of the lip line.
- For a flatter matte, hold a single ply of tissue over your lips and tap a small amount of translucent powder through it with a brush.
Wear it with: a smudged lash line or a wash of one eyeshadow. Soft edges on the eyes and lips echo each other.
Touching up: forgiving. Press more color into the center and tap it outward. A slightly uneven edge is part of the look.
The same bullet can be a sheer stain, a precise classic or a soft-edged matte, and the difference is entirely in how it goes on.
Choosing which one today
- No mirror for the rest of the day: the stain.
- Eating and drinking through a long evening: the blurred matte. The blotted layers transfer less than a fresh creamy coat, and wear is harder to spot on a soft edge.
- A photograph or a moment where you will be looked at closely: the classic.
- Not sure red suits you: begin with the stain and build. It is the same color at a lower volume.
If the red itself looks off
Reds lean one of two ways: toward blue, which gives cherry and berry tones, or toward orange, which gives tomato and brick. Neither is more correct. If a red looks harsh against your skin in daylight, try one that leans the other way before deciding red is not for you. The same warm, cool or neutral logic that applies to base makeup helps here, and this guide to finding your foundation undertone explains how to read it.
Sheering a red out, as in the first look, also widens its range. A color that feels too bright at full strength is often easy to wear as a stain.
Carrying it with you
For looks one and three, the lipstick alone covers every touch-up. For the classic, add the pencil and a tissue. Those few items are worth a permanent place in a small, useful makeup bag, because one red that works three ways replaces several lip products.
Researched and written by Dates Force Editorial with AI assistance, from the published sources listed above — not from product testing. This is general information about everyday cosmetic care, not medical advice. How we work · Report an error
Part of Getting Ready
Keep reading
Soft Evening Makeup Without a Full Glam Routine
Keep the base you have on, deepen the lash line, cheeks and lips by one step each, and skip the rest. A ten-minute route from day to evening.