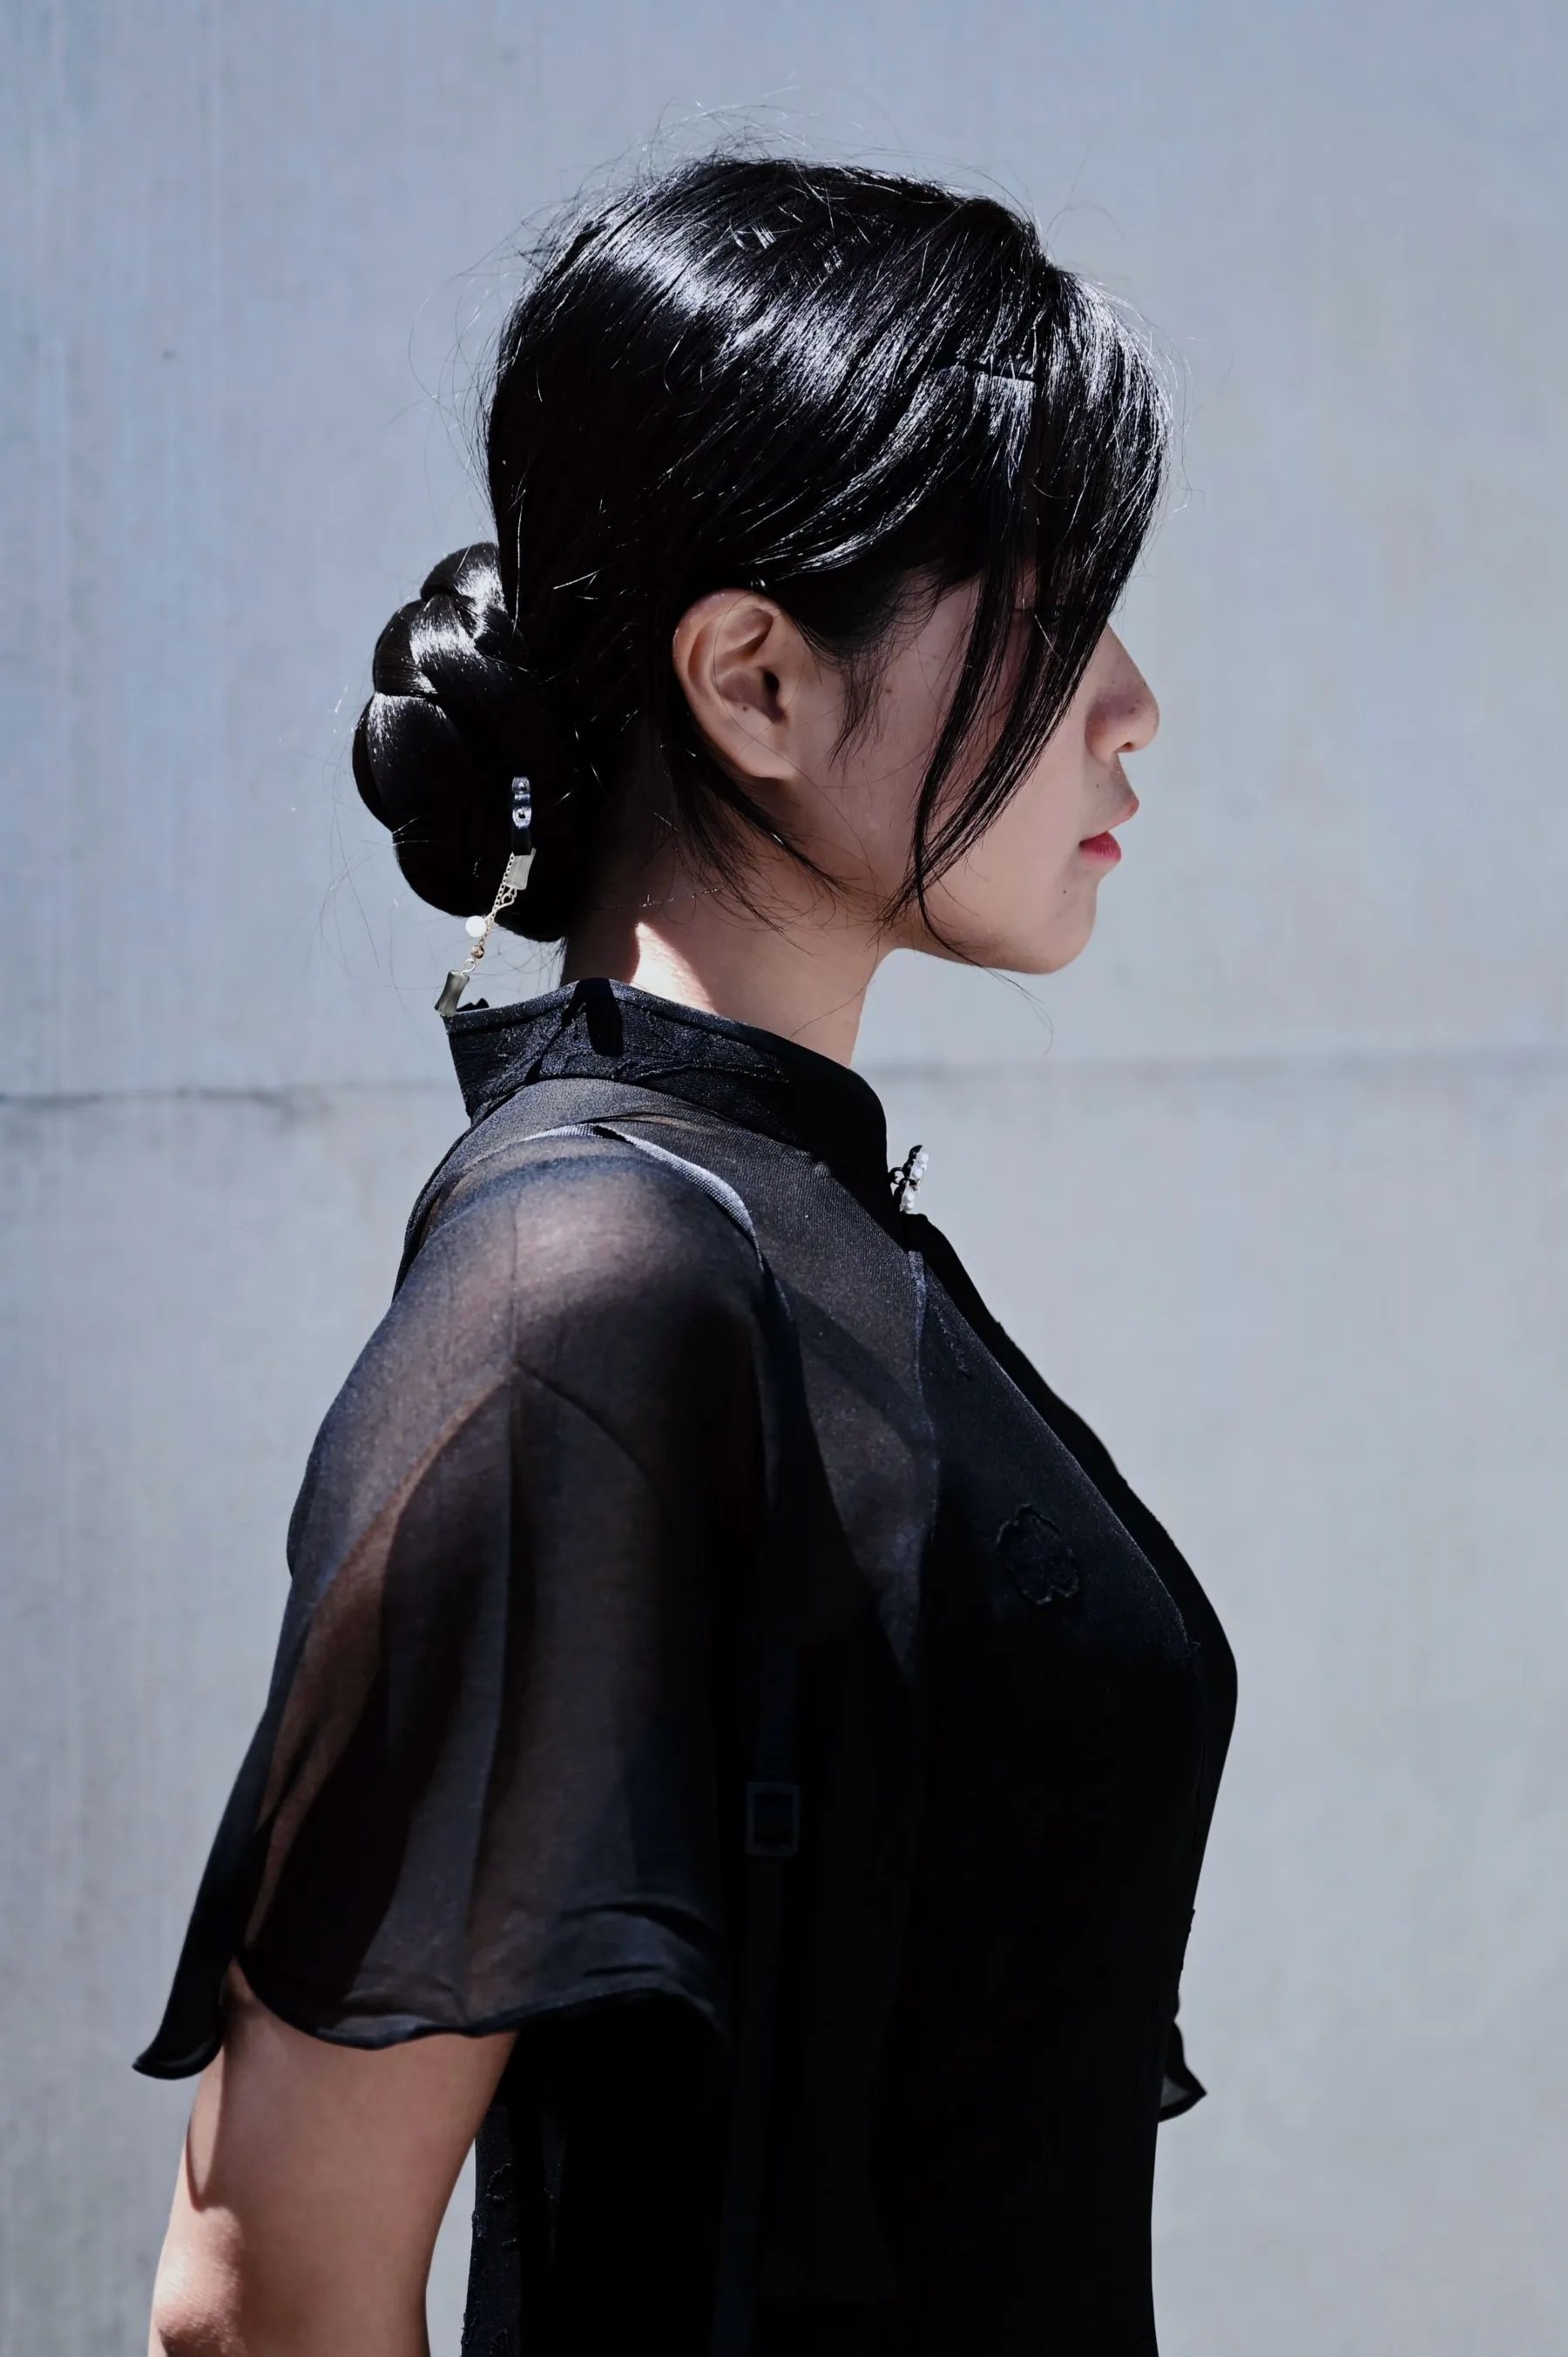
The sleek bun is a simple idea: hair smoothed back, gathered, secured. What makes it read as strict is rarely the bun itself. It is the combination of maximum tension, a ruler-straight part, a high-shine finish and a hairline with nothing left out. Change any one of those and the whole style relaxes. Change two or three and it becomes something you can wear to dinner without feeling like you are about to perform a routine.
Below are seven small adjustments. None takes more than a minute, and you can mix them.
1. Ease the tension
This is the adjustment that matters for more than looks. The American Academy of Dermatology lists tightly pulled buns, ponytails and up-dos among the hairstyles that can lead to hair loss when worn often, and the British Association of Dermatologists notes that tight buns put the strain on the sides and back of the hairline.
The AAD’s test is easy to apply: if the style is painful, it is too tight. Stinging on the scalp, or skin that looks pulled up at the hairline, are the same message.
A smooth surface does not depend on a hard pull. Smoothness comes from the brush and the product; hold comes from the tie and the pins. So gather the hair firmly enough to stay, secure it, then press two fingers flat on the crown and slide them forward a few millimeters. You should feel the hair give slightly. That small release is invisible from the outside and noticeable to your scalp.
2. Lower it
A bun on the crown lifts everything upward and draws a sharp line from temple to top. Move the same bun to the nape, or to the midpoint at the back of the head, and the line softens straight away.
A low bun also asks for less tension to stay in place, because the hair is not being held against gravity.
3. Change the part
A crisp center part drawn with a tail comb is the most graphic version. Three gentler options:
- A finger-drawn part. Use a fingertip instead of a comb; the line wavers slightly and looks softer for it.
- An off-center or side part. Asymmetry breaks up the severity and gives a slight sweep across the forehead.
- No part. Brush everything straight back with a little lift at the front.
4. Leave something out at the hairline
Before you gather the hair, pull out a few fine pieces: at the temples, in front of the ears, or one or two at the nape. Keep them thin. A few strands frame the face; thick sections read as an unfinished style.
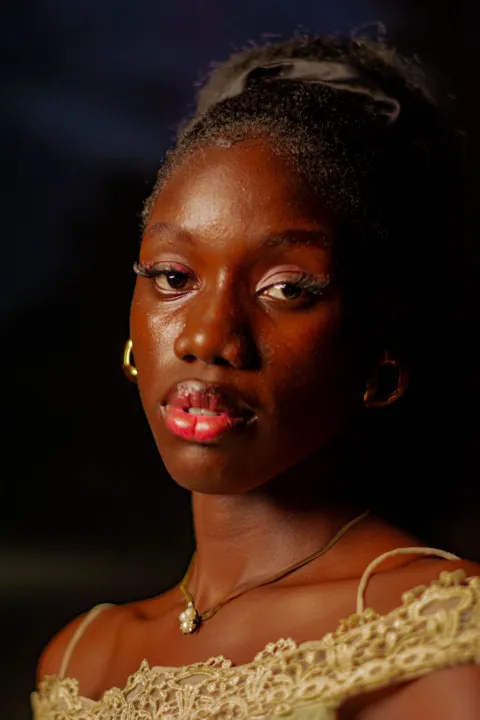
How you finish them depends on texture. Straight hair can be left as it falls or given a slight bend around a finger. Waves and curls can be left in their own pattern, with a little product twisted in for definition. If you style your edges, shaping them softly with a small brush and a touch of gel does the same framing job; skip it if you prefer the hairline as it is.
5. Turn the shine down
A wet-look, high-gloss finish is part of what makes the classic version dramatic. For a softer one, aim for smooth with a natural sheen.
- Use a light cream, a little leave-in conditioner or a small amount of soft-hold gel instead of a strong-hold gel applied from root to tip.
- Warm the product between your palms and press it over the surface. You are laying down flyaways, not saturating the hair.
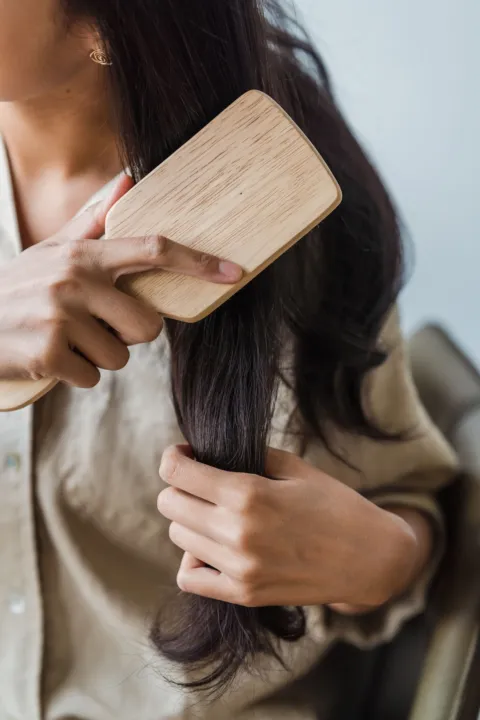
- Follow with a dense-bristle brush, working in the direction of the bun. Our guide to choosing a hairbrush explains why this is the tool for the job.
Curly and coily hair can be smoothed with product and palms while damp and left to set, with no requirement to straighten first. The surface will show some of its natural pattern, which is a softer look in itself.
Smoothness comes from the brush and the product; hold comes from the tie and the pins.
6. Build a softer bun
The tight, small knot is one option among several. Each of these changes the outline:
- The twist. Twist the ponytail loosely and coil it flat against the head, like a cinnamon roll. Pin at four points.
- The loop. On the last pass of the hair tie, pull the ponytail only halfway through. Fan the loop out and wrap the ends around the base.
- The braided bun. Braid the ponytail loosely first, then coil it. The texture of the braid takes the hard edge off.
- The full bun. For thick, curly or coily hair, let the bun be as large as the hair wants. Volume at the back balances a smooth front.
Whichever you choose, once it is pinned, pinch the outer edge of the bun and tug gently to loosen its shape. Do this to the bun only, not to the smoothed hair above it.
7. Hold it with kinder hardware
The AAD recommends covered bands made for styling hair and wearing hair loosely pulled back. A fabric-covered tie or a soft scrunchie holds without cutting into the hair, and a scrunchie adds visual softness of its own.
U-shaped hair pins are worth learning. Catch a little of the bun, flip the pin so it points toward the center, and push it in along the scalp. Three or four of them can hold a coiled bun with no tie at all, which removes the tightest point of the style.
Putting it together in five minutes
- Start with dry or slightly damp hair. Second-day hair has more grip and is easier to pin.
- Pull out your face-framing pieces and clip them out of the way.
- Set the part with a fingertip, or brush straight back.
- Press a little cream over the surface and brush toward the nape.
- Gather low, secure with a covered tie, and release the tension by sliding two fingers forward on the crown.
- Twist, coil and pin. Loosen the outline of the bun.
- Unclip the front pieces and shape them.
- Check the feel: raise your eyebrows and tilt your head. If anything pulls, loosen it now.
Which adjustments for which evening
For a polished look that is still gentle, keep the center part and the smooth surface, and change only the height and the tension. For something more relaxed, add the loose pieces and the looped or braided bun. Either pairs easily with soft evening makeup, since both rely on a finished look that does not appear labored.
And if the hair is not freshly washed, that works in your favor here. The same low gather is the starting point for several easy second-day styles.
Sources
- American Academy of Dermatology Hairstyles that pull can lead to hair loss
- British Association of Dermatologists Traction alopecia
- American Academy of Dermatology How to stop damaging your hair
Researched and written by Dates Force Editorial with AI assistance, from the published sources listed above — not from product testing. This is general information about everyday cosmetic care, not medical advice. How we work · Report an error
Part of Getting Ready
Keep reading
Three Easy Hairstyles for Second-Day Hair
A low twist ponytail, a loose side braid and a claw-clip twist: three no-heat styles that work with day-two texture instead of against it.