A Beginner-Friendly At-Home Manicure
Eleven steps from bare nails to dry polish, with the two habits dermatologists stress most: file in one direction and leave your cuticles alone.
Set aside forty-five minutes, a table near a window you can open, and an evening when you will not have to dig in a bag for keys straight afterward. A first manicure at home goes well when it is unhurried, and most of the things that go wrong with polish (bubbles, dents, smudges) come from rushing a step.
What to have on the table
- Nail polish remover and cotton pads
- Nail clippers or scissors, if you are taking length off
- A nail file or emery board (fine grit; 180 or 240 is typical for natural nails)
- Base coat, one color, top coat
- A small flat brush or a cotton swab for cleaning up edges
- Hand cream or cuticle oil
That is the whole list. If you are still assembling it, our rundown of what belongs in a small nail-care kit separates the useful from the optional.
The procedure
-
Take off old polish. Press a soaked cotton pad on the nail for a few seconds, then wipe from the base toward the tip. Holding first means less scrubbing. Even on bare nails, a quick wipe is useful later (see step 5).
-
Wash your hands and dry them well. Remover and any lotion come off, and you start clean.
-
Shorten, if you want to. The American Academy of Dermatology’s advice is to cut fingernails nearly straight across, then round the corners slightly with a file, which helps keep them strong and stops them catching. Take small snips across the nail instead of one big one.
-
File in one direction. Hold the file at a slight angle under the edge of the nail and stroke from one side toward the center, lift, and repeat; then do the other side. The AAD specifically advises filing in the same direction, because sawing back and forth can weaken nails. Look at all ten nails together at the end and even up the lengths. If you have not settled on a shape, see how to choose a nail shape for everyday wear.
-
Leave the cuticles in place, and clean the nail surface. Skip the cuticle nippers. The AAD says not to cut cuticles or push them back forcefully, since they protect the area where the nail grows and damaging them can lead to infection. If you like a neater base and want to ease them back, do it gently, after a shower or bath when the skin is soft, and stop at the first resistance.
Then wipe each nail once more with remover on a pad. Polish holds best on a surface with no oil or cream on it. Try not to touch the nails with your fingertips after this.
-
Apply base coat. One thin layer. It gives the color something to hold on to and sits between pigment and nail. The AAD suggests an extra layer of base coat under bright red or orange shades, which can otherwise leave nails yellowish.
-
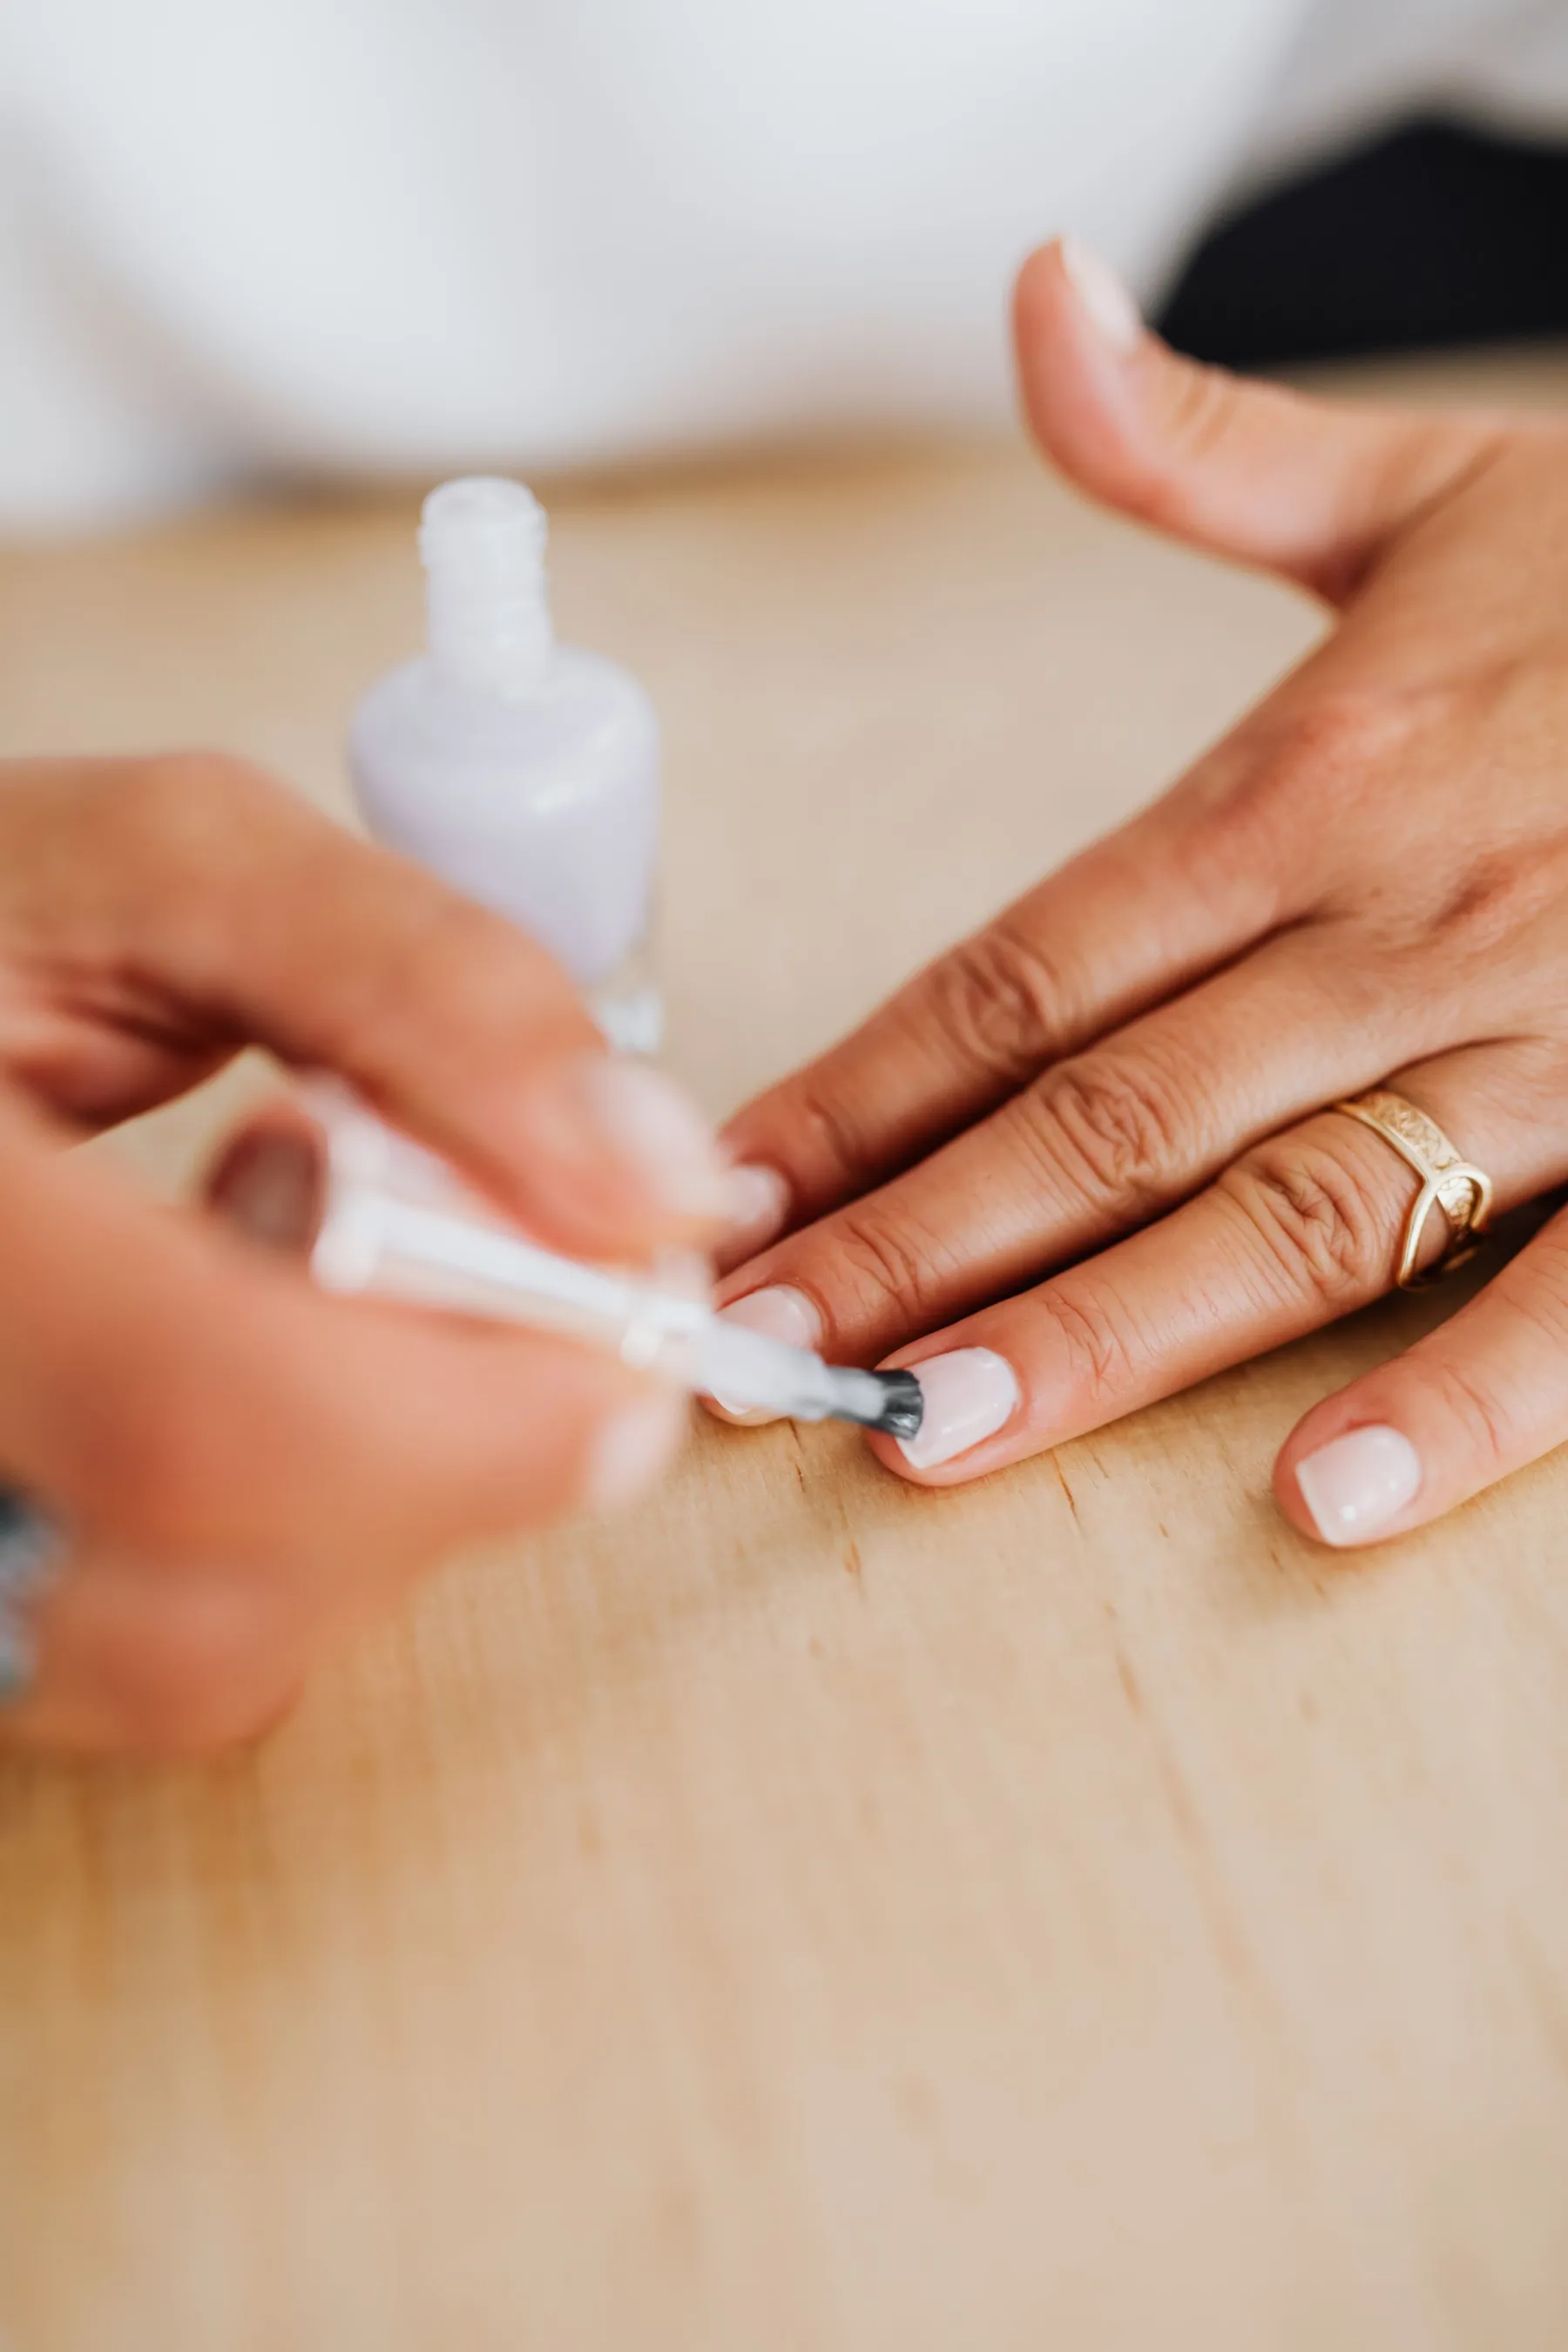
Apply color in thin coats. Wipe one side of the brush on the neck of the bottle so a small bead sits on the other side. Place the brush in the center of the nail a little way up from the cuticle, nudge it toward the base without touching the skin, then pull straight to the tip. Repeat down the left side, then the right. Three strokes per nail.
The first coat will look streaky. That is normal; the second coat evens it out. Wait two to three minutes between coats, until the surface is no longer wet to look at.
-
Seal the tip. On the second coat, run the brush lightly along the very edge of the nail. Tips are where chips begin, and this thin seal slows them down.
-
Finish with top coat. One layer over the whole nail and along the tip again. It adds gloss and takes the daily wear instead of the color.
-
Clean up. Dip the small brush or a swab in remover, blot it so it is barely damp, and trace around the edge of each nail to lift any polish from the skin. This single step does more for a neat result than anything else.
-
Wait, then moisturize. Polish feels dry to the touch in about ten to fifteen minutes and stays soft underneath for considerably longer. Give it at least half an hour before doing anything that presses on the nails. Once it has set, rub hand cream or oil into the skin around each nail. The AAD recommends moisturizing nails, particularly after using remover, because most removers are drying.
The first coat will look streaky. That is normal; the second coat evens it out.
Painting your dominant hand
This is where most beginners get stuck. A few adjustments help:
- Rest the hand being painted flat on the table, and brace the wrist of the painting hand against the table edge.
- Move the finger, not the brush. Hold the brush steady and roll or slide the nail under it.
- Paint that hand first, while you are fresh, and do the easy hand second.
- Stay a hair’s width away from the skin on all sides. A small gap looks tidy; flooded edges do not.
A sheer or pale shade forgives a wobbly line far more than a dark cream does. Our guide to polish finishes explains which are easiest to apply.
When something goes wrong
| What you see | Likely reason | Next time |
|---|---|---|
| Bubbles | Coats too thick, or the bottle was shaken | Thinner coats; roll the bottle between your palms instead of shaking |
| Streaks | Too little polish on the brush, or too many strokes over a drying coat | Three strokes, then leave it; let the second coat even things out |
| Polish pooling at the sides | Too much on the brush | Wipe one side of the brush fully before each nail |
| Dents after an hour | Color was still soft underneath | Thinner coats and a longer wait before using your hands |
| Chips at the tips within a day | Oil on the nail, or unsealed tips | Wipe with remover before base coat; seal the edge with color and top coat |
A smudge on a wet nail can often be saved: touch a tiny drop of remover to a fingertip, pat the smudge flat, let it dry and add a thin coat on top.
Keeping it going
Wear gloves for washing-up and cleaning; long soaks in water are hard on nails and polish alike. Use the pads of your fingers, not the nail tips, to open cans and peel labels. A fresh layer of top coat after three or four days can extend the wear.
If the skin around a nail becomes red, sore or swollen, or a product makes it itch, take the polish off and leave the nails bare. Should it not settle, that is a matter for a doctor or dermatologist, not for another coat.
Sources
- American Academy of Dermatology How to trim your nails
- American Academy of Dermatology Manicure and pedicure safety
- American Academy of Dermatology 11 dermatologists' tips for healthy nails
- U.S. Food and Drug Administration Nail Care Products | FDA
Researched and written by Dates Force Editorial with AI assistance, from the published sources listed above — not from product testing. This is general information about everyday cosmetic care, not medical advice. How we work · Report an error
Part of The Weekend Edit
Keep reading
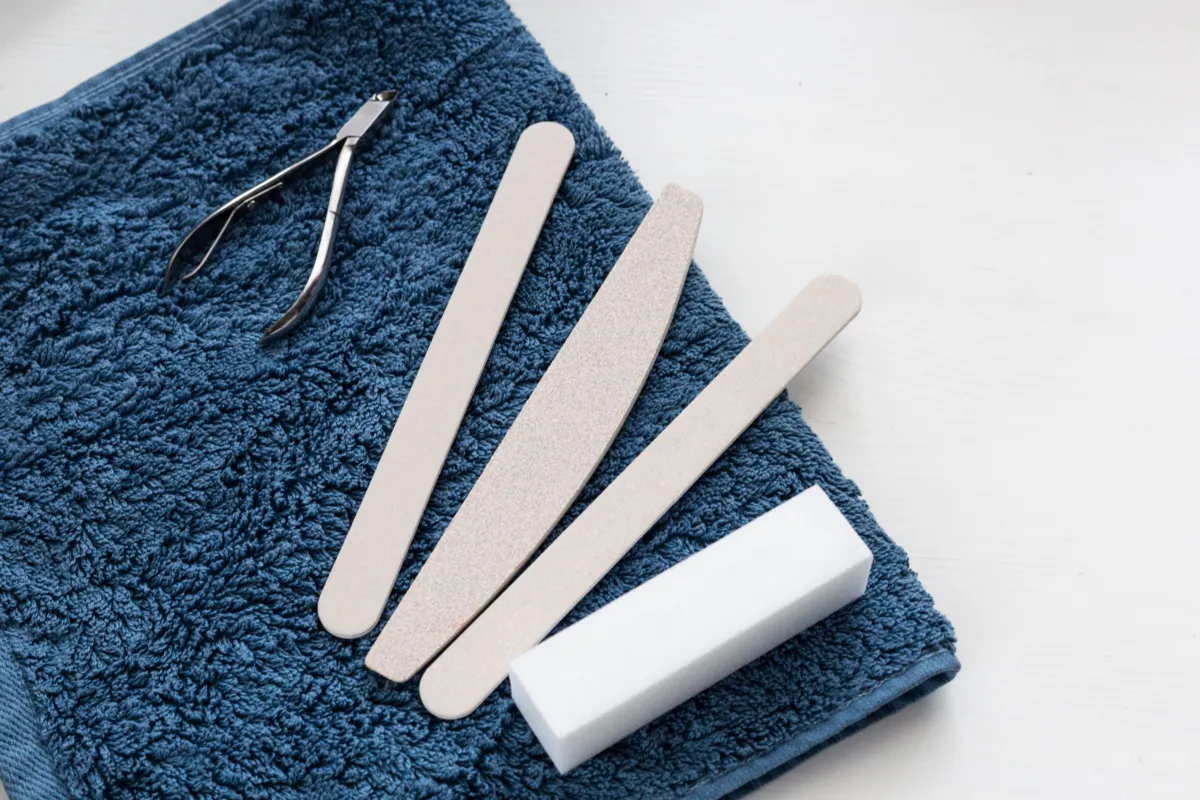
A Small Nail-Care Kit: What Is Actually Useful
Seven items that cover trimming, shaping, polish and upkeep, a few optional extras, and the tools dermatologists would prefer you left in the shop.