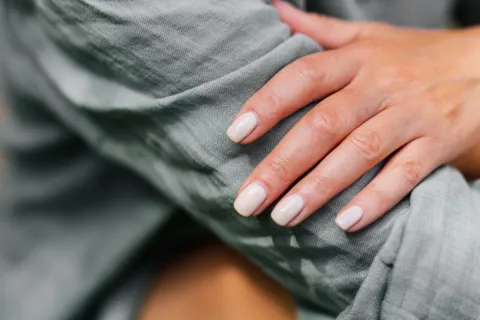
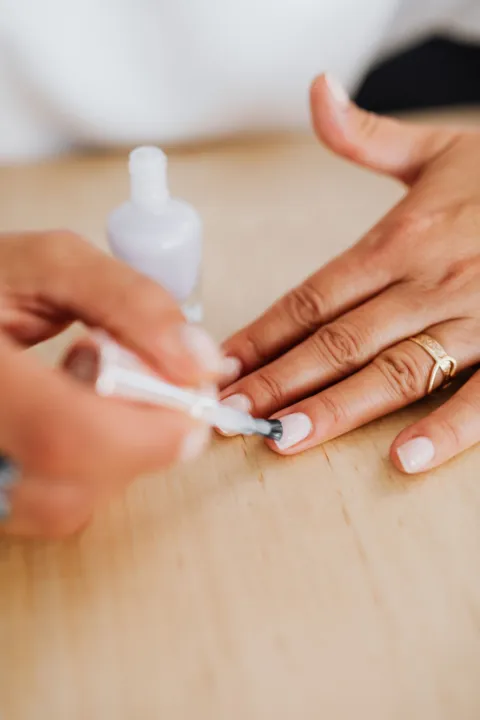
How to Tidy Up a Manicure Between Appointments
Chips, lifting edges, grow-out, lost shine, dry skin and snags: find your situation and the five-minute fix, plus what to leave for the salon.

Somewhere between the second and third week, a manicure stops looking fresh and starts looking lived in. Usually it is one of half a dozen specific things, and most of them take under five minutes to deal with. Find your situation below.
A note on what you are wearing: the fixes for regular polish and for salon gel overlap but are not the same. Where they differ, both are given. Anything that involves removing or rebuilding a gel, acrylic or dip manicure is a job for the salon.
A chip at the tip
Regular polish. If the chip is small, file the tip of that nail a fraction shorter so the chipped edge disappears, then file the others to match. If it is larger and you have the color:
- Dab a tiny amount of polish into the chip only, and let it dry for a few minutes.
- Brush one thin coat of the color over the whole nail to even it out.
- Seal with top coat, running the brush along the tip.
If you do not have the color, a coat of fine shimmer or glitter over just the tips of all ten nails turns the repair into a design.
Salon gel. A chip in gel cannot be patched with more gel at home. You can smooth the rough edge gently with a fine file so it does not catch, and add a regular clear top coat as a temporary cover. Then leave it alone until your appointment.
Polish that is lifting at an edge
This is the one where your hands will want to help. Do not let them. The American Academy of Dermatology warns that picking or peeling off gel polish can significantly damage nails. The same goes for scraping at it with a tool.
For a lifted corner of gel, file the loose edge flush with very light strokes so there is nothing to catch, and cover it with regular top coat. If several nails are lifting, bring your appointment forward and have the set removed properly.
For regular polish that is peeling in sheets, it has reached the end. Take it off with remover and start again, or go bare.
This is the one where your hands will want to help. Do not let them.
Visible grow-out at the base
The gap between cuticle and color is growth, which is the opposite of something going wrong. A few ways to make it look intended:
- Blur it with glitter. Dab a sheer glitter or shimmer polish at the base of each nail and fade it upward toward the middle. The sparkle hides the line.
- Add a regular top coat over everything. Gloss over the bare strip and the color together softens the step between them.
- Choose differently next time. Sheer shades and negative-space designs show growth far less than opaque color; several are in our five minimal nail ideas.
Filling the gap with a matching regular polish is possible over gel, but the two textures rarely blend well up close. Treat it as a last resort for one evening.
Dull, scuffed surface
Shine goes first, long before the color does. Wash and dry your hands, wipe each nail with a little remover on a pad (non-acetone if you are wearing gel, so the surface is not softened), and apply one thin layer of glossy top coat. Seal the tips.
This is the single most effective refresh for either kind of manicure. Done once around the midpoint, it can make polish look newly applied.
Dry, ragged skin around the nails
Often it is the skin, not the polish, that makes a manicure look tired.
Rub hand cream or cuticle oil into the skin around each nail, morning and night if you can, and always after washing-up. The AAD recommends moisturizing nails, especially after using polish remover, since most removers are drying.
Leave the cuticles themselves where they are. The same guidance says not to cut them or push them back forcefully, because that can lead to infection. If you want a neater line, ease them back gently with a soft washcloth after a shower, and nothing more.
A hangnail
Do not pull or bite it; that tears live skin. Soften the area in warm water for a few minutes, then snip the loose piece of dry skin cleanly at its base with clean nail scissors or nippers, without cutting into the skin itself. Moisturize afterward.
A snag or small break
Deal with a rough edge as soon as you feel it, before it catches on a sweater and tears further.
- File the snag smooth with a fine-grit file, stroking in one direction, from the side toward the center. The AAD notes that filing back and forth can weaken nails.
- If the nail has lost real length, take the others down to match. A set of even, shorter nails looks neater than nine long and one short.
- Touch up the freshly filed tip with top coat to reseal it.
A crack across the middle of the nail, or a break low enough to hurt, is not a between-appointments fix. Trim it as short as is comfortable, keep it covered if it catches, and let your technician see it. If it is painful, bleeding or swollen, get medical advice instead.
Stained or dull tips on bare or sheer nails
Clean under the tips with a soft nail brush, soap and warm water. The NHS advises a soft nailbrush, not sharp objects, for cleaning under nails. A coat of milky sheer polish evens out the look of any remaining discoloration until it grows out.
A five-minute weekly reset
If you would sooner prevent than repair, this covers most of the above in one go.
- Wash hands; scrub gently under the tips with a soft nail brush.
- Run a fingertip along each nail edge. File any roughness, one direction only.
- Wipe the nails with remover and apply one thin layer of top coat.
- Once dry, work oil or hand cream into the skin around each nail.
The few tools this takes are listed in our piece on a small nail-care kit.
Habits that stretch the gap
The AAD’s general nail advice includes two points that happen to be the best manicure insurance available: do not use your nails as tools, and wear gloves for washing dishes, because repeated soaking can make nails split or peel. Open cans with a spoon handle, peel stickers with the pad of a finger, and keep a pair of gloves by the sink.
And if the set is simply finished and the salon is a week away, removing regular polish and wearing clean, short, glossy bare nails is a perfectly good look. Starting over at home is covered in our beginner-friendly at-home manicure.
Sources
- American Academy of Dermatology Dermatologist's secret for removing gel nail polish at home
- American Academy of Dermatology Manicure and pedicure safety
- American Academy of Dermatology How to trim your nails
- American Academy of Dermatology 11 dermatologists' tips for healthy nails
- NHS Nail problems - NHS
Researched and written by Dates Force Editorial with AI assistance, from the published sources listed above — not from product testing. This is general information about everyday cosmetic care, not medical advice. How we work · Report an error
Part of Five-Minute Fix
Keep reading
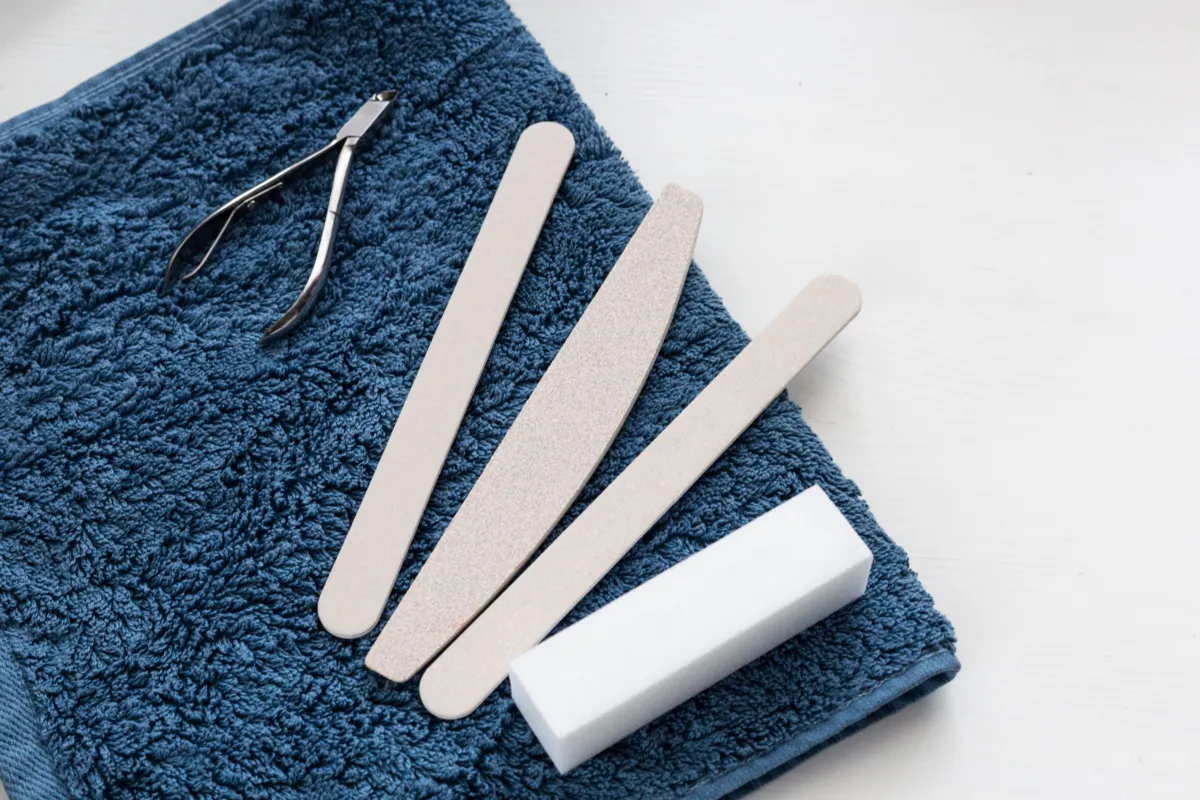
A Small Nail-Care Kit: What Is Actually Useful
Seven items that cover trimming, shaping, polish and upkeep, a few optional extras, and the tools dermatologists would prefer you left in the shop.