Five Minimal Nail Ideas That Work with Almost Anything
A single dot, a micro French, a sheer wash, a half-moon and a tonal accent: five small designs with steps, each done in regular polish.
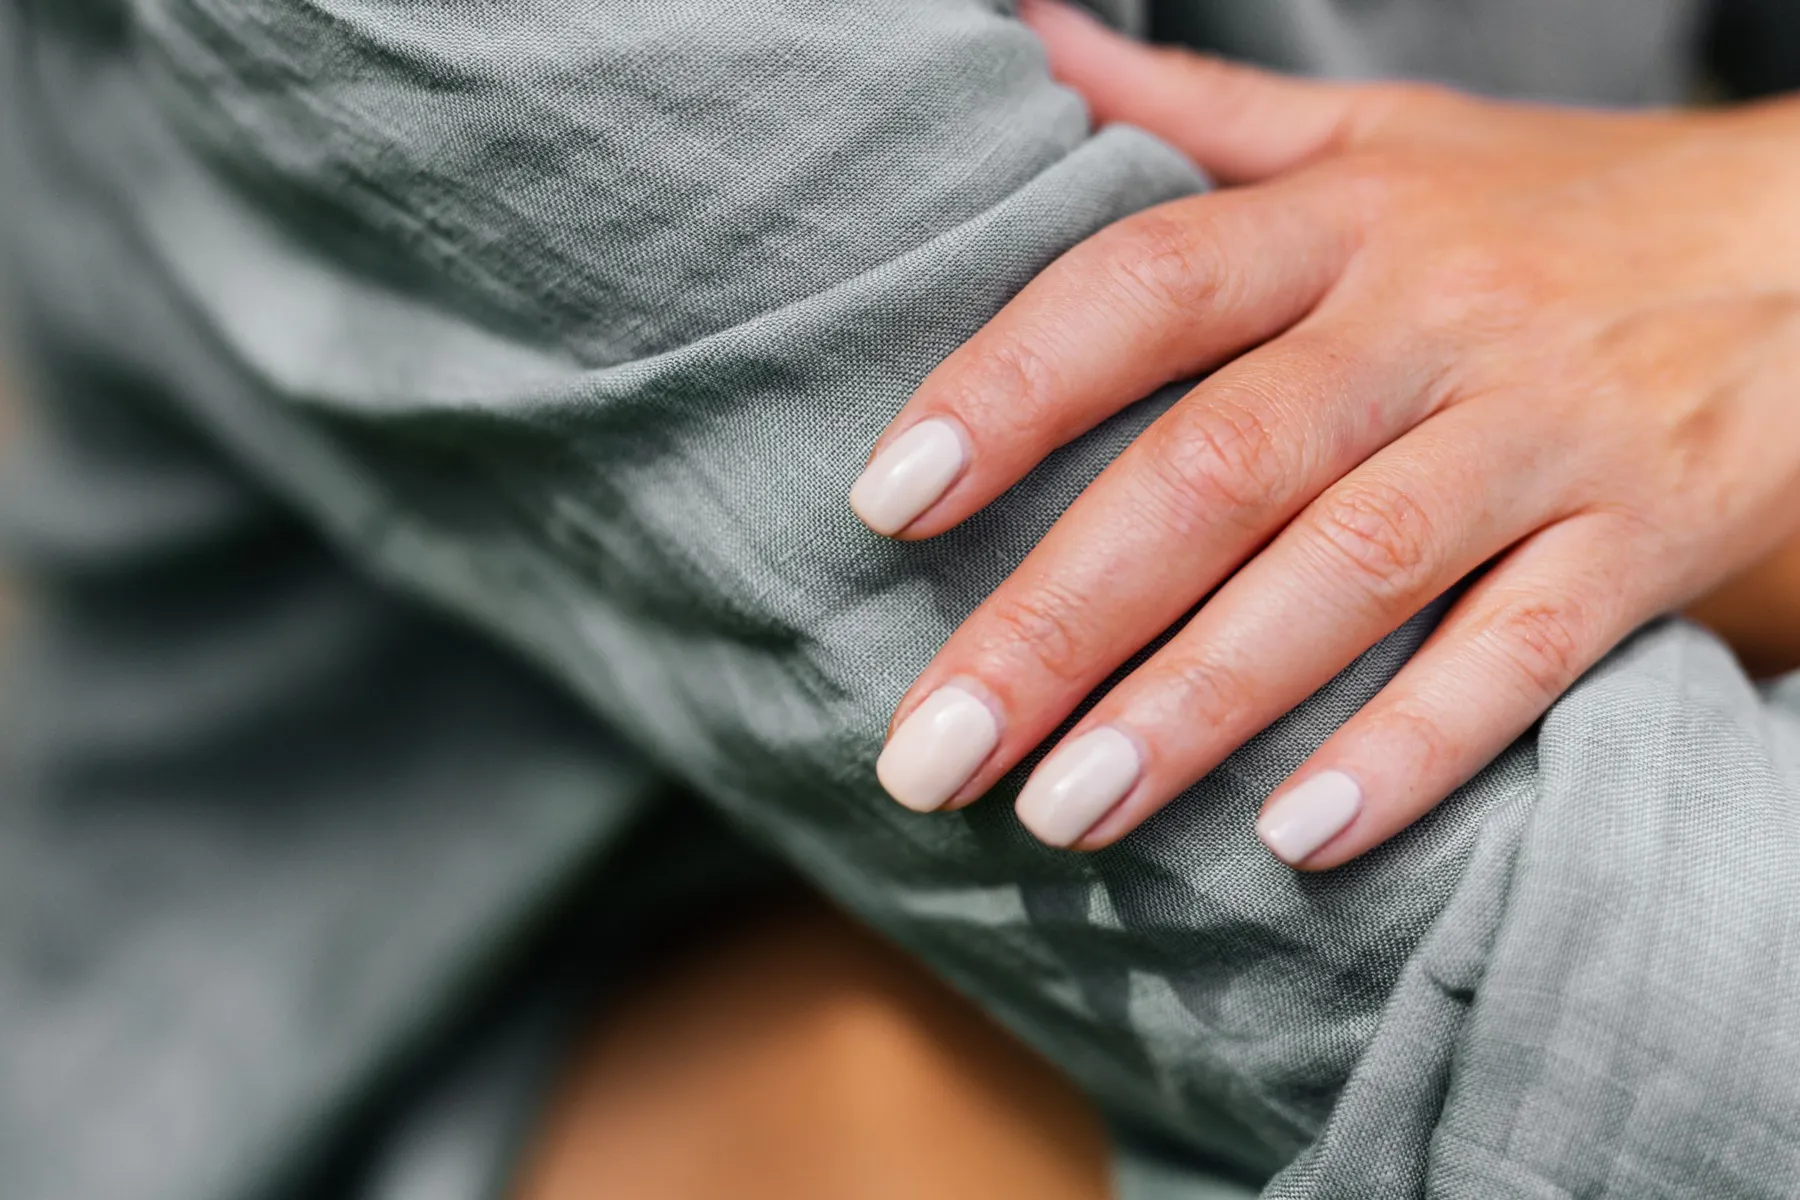
Minimal nail art has one practical advantage over the elaborate kind: it does not have to match anything. A single dot or a thin line at the tip sits as comfortably next to a suit as next to a swimsuit, and when it chips or grows out, nobody notices for days.
Each of the five ideas below stands alone. Each lists what it takes, how to do it, and a variation. All use ordinary air-dry polish, and none calls for a steady hand beyond what a little bracing can supply.
One shared starting point: nails filed to an even length, a wipe of remover to clear any oil, and one layer of base coat. If that part is new to you, the steps are in our beginner-friendly at-home manicure.
1. The single dot
Takes: a sheer or bare base, one contrasting color, a dotting tool or the rounded end of a bobby pin. About ten minutes plus drying.
- Apply one or two coats of a sheer pink or beige, or leave the base coat as it is. Let it dry to the touch.
- Put a drop of the dot color on a piece of foil or paper.
- Dip the tip of the tool in the drop and touch it straight down onto the nail, just above the center of the cuticle line. Lift straight up. Do not drag.
- Reload the tool for each nail so the dots match in size.
- Wait five minutes, then float a top coat over the nail with a well-loaded brush and a light touch, so the dot does not smear.
Why it works with anything: the nail is mostly its natural color. The dot reads as a detail, like a small stud earring.
Vary it: move the dot to the center of the tip; use metallic polish; or dot only the ring fingers.
2. The micro French
Takes: a sheer base, white or any color for the tip, a thin striping brush (or the polish’s own brush, wiped nearly dry). Fifteen minutes plus drying.
- Apply one coat of sheer base and let it dry.
- Load a very small amount of tip color onto the brush.
- Rest your painting hand on the table. Hold the brush still against one corner of the nail tip and slowly roll the finger so the edge of the nail passes under the brush.
- The line should be about a millimeter wide, hugging the very edge. Thinner is better than thicker; you can go over it once.
- Tidy the underside of the line with a small brush dampened with remover. Finish with a top coat.
Why it works with anything: it is the classic French manicure scaled down until it is barely there, and it suits short nails particularly well because it does not eat into the nail’s length.
Vary it: swap white for black, deep red, cobalt or a metallic. A colored micro tip is one of the simplest ways to wear a strong shade in a small dose.
3. The sheer wash
Takes: one sheer polish and a top coat. Under ten minutes plus drying.
- Choose a sheer close to your own nail color, a little pinker or a little milkier.
- Apply two thin coats, three strokes each, with a couple of minutes between them.
- Finish with a glossy top coat.
That is the whole design. The effect is of your own nails on a very good day: even in tone, glossy and neat.
Why it works with anything: it has no color to clash and no pattern to date. It is also the most forgiving manicure there is to apply and to grow out, for reasons explained in our guide to polish finishes.
Vary it: add one coat of a sheer shimmer on top for an evening, or use a matte top coat for a soft, velvety version.
Minimal nail art has one practical advantage over the elaborate kind: it does not have to match anything.
4. The negative-space half-moon
Takes: one cream color, a clear base, and either round reinforcement stickers (the kind sold for punched paper) or a steady brush. Twenty minutes plus drying.
- Apply a base coat and let it dry fully. Give it a good fifteen minutes; a sticker on soft polish will lift it.
- Press a sticker lightly on the back of your hand once or twice to reduce its tack.
- Place the sticker so its curved edge covers the pale half-moon area at the base of the nail.
- Paint the rest of the nail with the color, over the edge of the sticker. One coat if the polish is opaque enough, two thin ones if not.
- Peel the sticker away while the polish is still wet, pulling gently back toward the cuticle.
- Let it dry for ten minutes, then top coat the whole nail, including the bare crescent.
Why it works with anything: the bare arc lightens even a dark or bright color, so a deep shade looks intentional and graphic instead of heavy. It also grows out gracefully, since the gap at the base is already part of the design.
Vary it: flip it. Mask the tip instead and leave a clear crescent at the free edge, or leave a vertical bare stripe down the center using a thin strip of tape.
5. The tonal accent
Takes: two polishes from the same color family, one a shade or two deeper than the other, or the same shade in two finishes. Fifteen minutes plus drying.
- Paint eight nails in the lighter shade, two coats.
- Paint both ring fingers in the deeper shade, two coats.
- Top coat all ten.
There is no art involved, only a choice. Good pairs: pale beige with caramel, blush with dusty rose, soft gray with slate, a cream with the same color in shimmer.
Why it works with anything: because both shades belong to one family, the hand reads as a single color with a quiet shift in it.
Vary it: go gradient. With five polishes in one family, paint each finger a step deeper, from thumb to little finger.
Small things that make minimal look deliberate
With so little on the nail, the nail itself is on show. A few habits carry the look.
- Even length and shape. Ten nails that match one another matter more than the design. Short round and squoval shapes suit all five ideas; see how to choose a nail shape for everyday wear.
- Clean edges. Trace around each nail with a small brush barely dampened with remover.
- Gloss. A fresh layer of top coat midweek brings back the shine that makes a sheer base look finished.
- Soft skin around the nail. A little hand cream or cuticle oil once the polish is dry.
These designs also grow out slowly enough to stretch a manicure. When the tips eventually wear, our guide to tidying a manicure between appointments covers the quick repairs.
Researched and written by Dates Force Editorial with AI assistance, from the published sources listed above — not from product testing. This is general information about everyday cosmetic care, not medical advice. How we work · Report an error
Keep reading
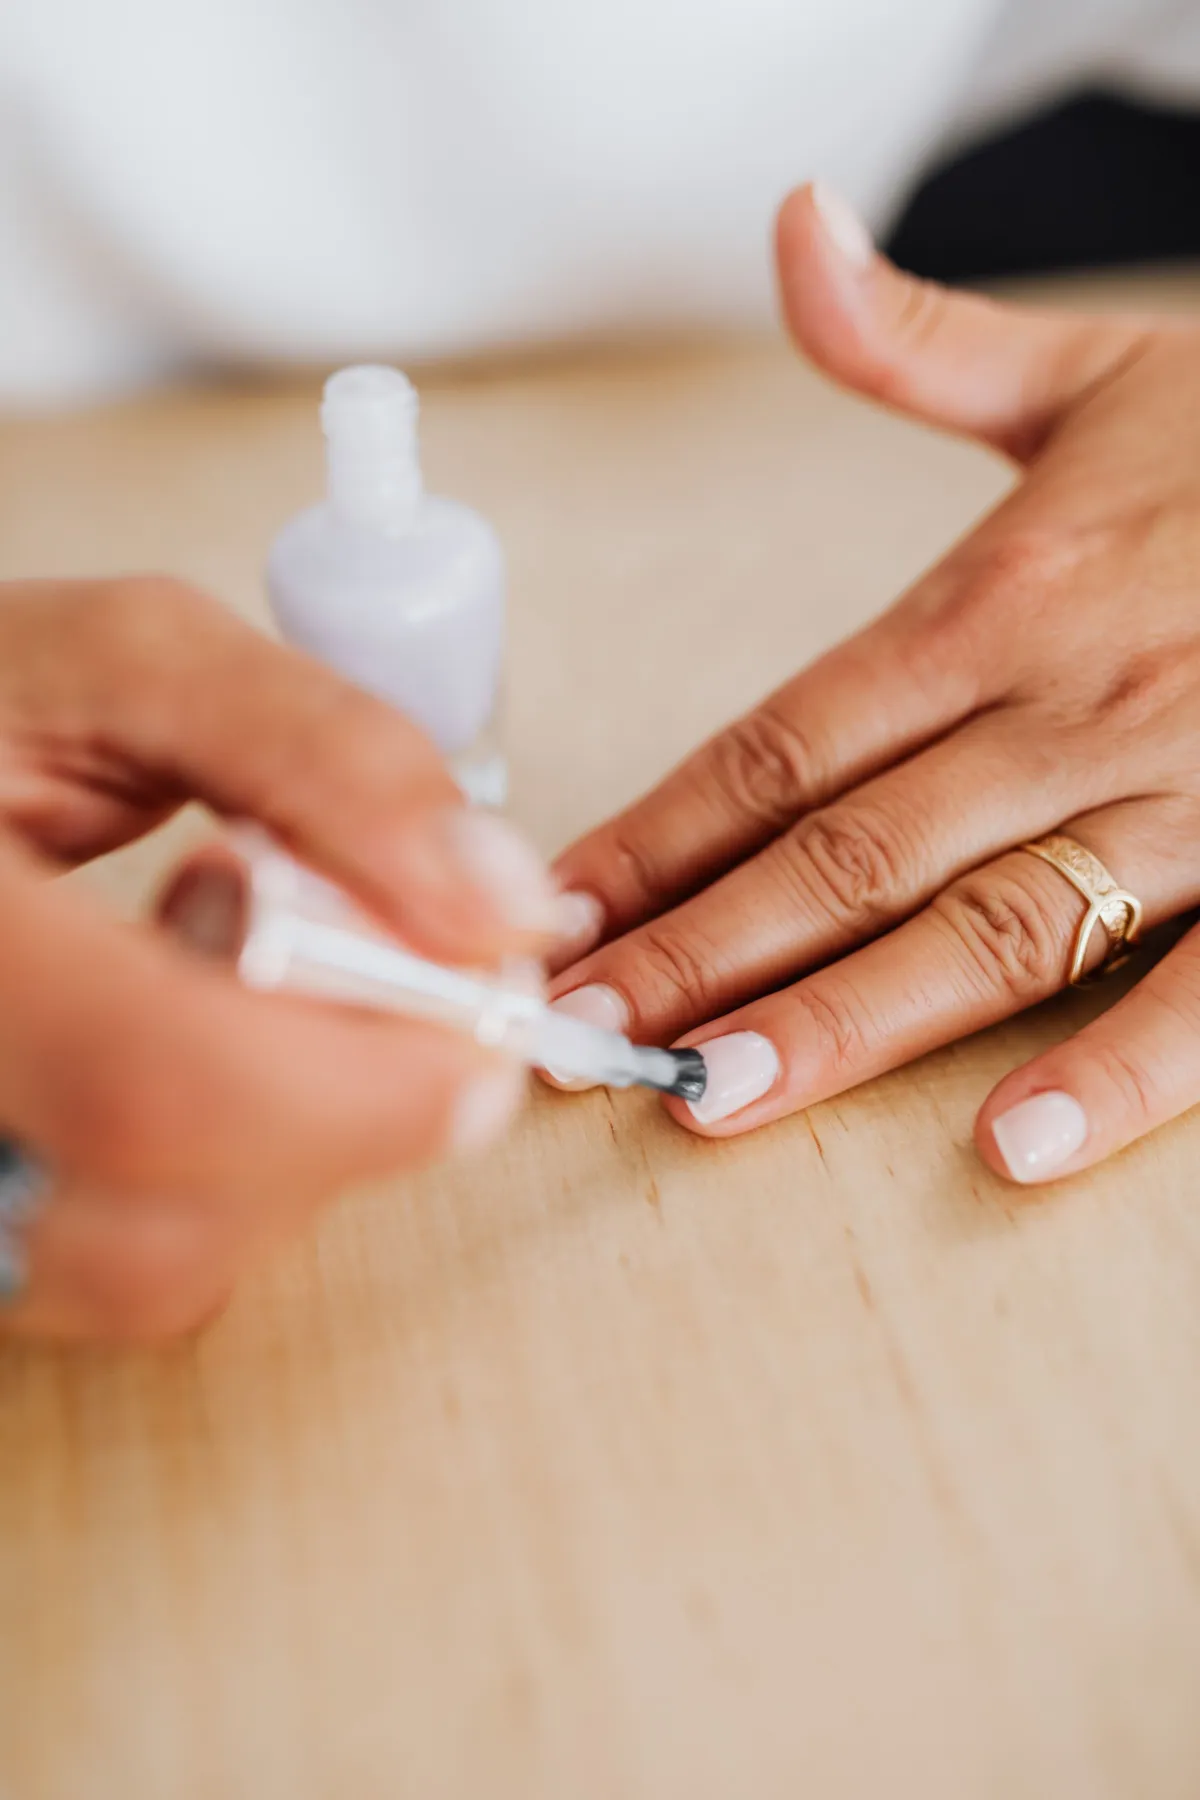
A Beginner-Friendly At-Home Manicure
Eleven steps from bare nails to dry polish, with the two habits dermatologists stress most: file in one direction and leave your cuticles alone.